 Pin it
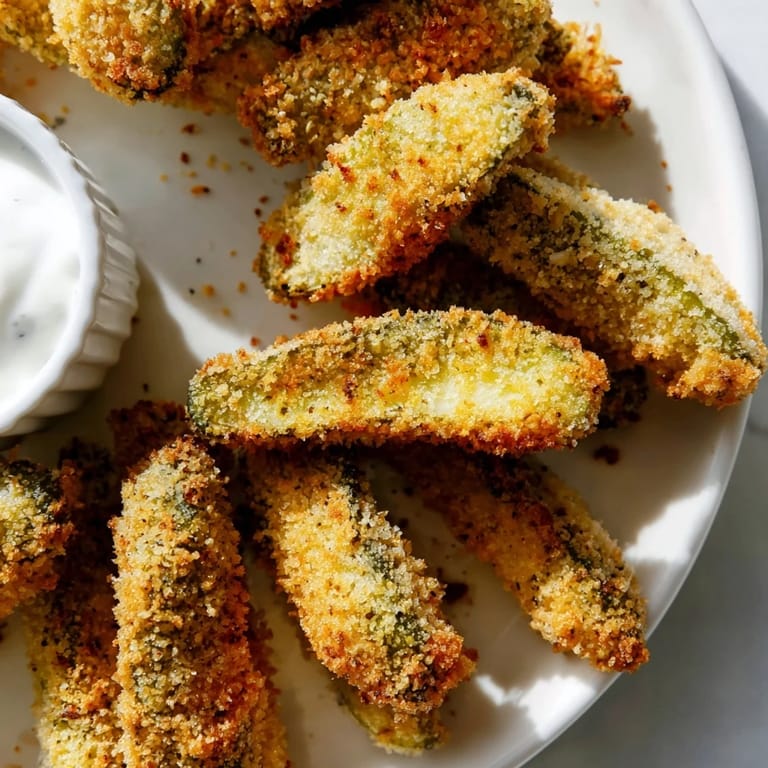
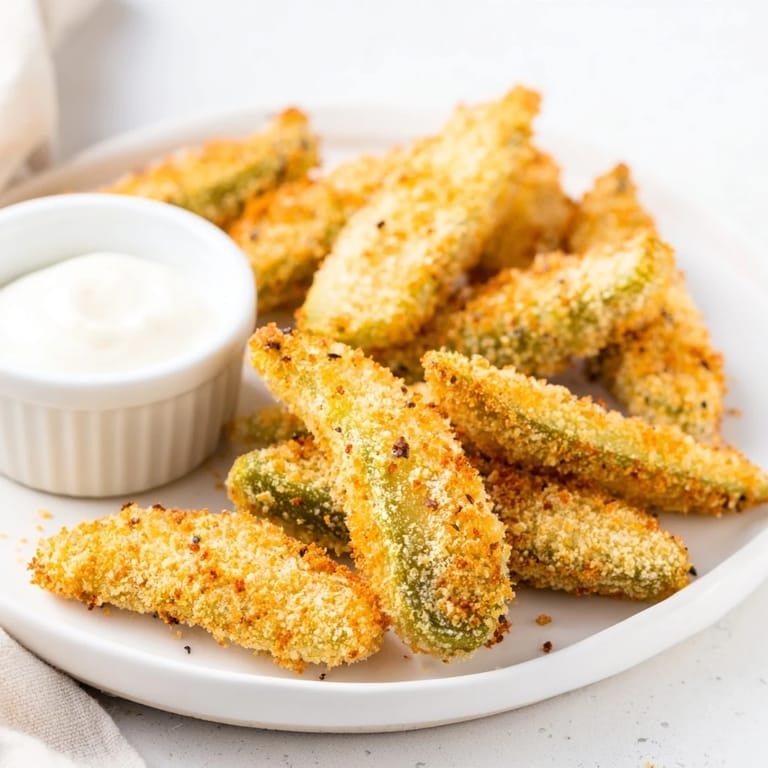
 There's something about the sound of pickles hitting hot oil that instantly transports me back to a county fair in late August, where a vendor's cart sent up clouds of steam and the smell of vinegar mixed with salty, crispy coating drew in everyone nearby. I finally asked for the recipe years later, and what surprised me most wasn't how easy they were to make at home—it was how they became the thing people actually remembered from dinner parties, more than the main course. That moment when someone bites through the golden crust and hits that cool, briny center is pure magic, and I've been chasing it in my own kitchen ever since.
I made a batch for my dad's poker night almost on a whim, mostly because I had pickles sitting in the fridge and wanted to impress his crew without actually cooking a full meal. One of his friends ate six in a row and asked if I did catering—the look on my dad's face was priceless. Now every time he hosts, someone inevitably texts the group chat asking if I'll be there with "those pickles."
Ingredients
- Dill pickle spears (8 large, drained and patted dry): The drying step matters more than you'd think—any moisture clinging to the pickle will make the coating steam instead of crisp, so don't skip patting them with paper towels.
- All-purpose flour (1 cup): Your first breading layer acts like glue, so use it generously and don't skip shaking off the excess.
- Eggs and milk (2 eggs plus 2 tablespoons milk): This mixture is your adhesive that holds everything together, so whisk it until it's combined but still slightly thick.
- Panko or regular breadcrumbs (1 cup): Panko gives you that extra crunch and stays golden longer, but regular breadcrumbs work just fine if that's what you have.
- Garlic powder, paprika, cayenne pepper (1 teaspoon, 1 teaspoon, and ½ teaspoon optional): These seasonings build flavor in the coating—the garlic and paprika are non-negotiable, but skip cayenne if heat isn't your thing.
- Salt and black pepper (½ teaspoon and ¼ teaspoon): Season the coating generously because the pickles themselves are already salty, so you need enough to stand up to that.
- Vegetable oil for deep frying: You need at least 2 inches of oil to fully submerge the pickles, so measure before you start heating.
- Ranch dressing (½ cup for dipping): This is your cooling agent and flavor bridge—the cool ranch against the hot crispy coating is essential to the experience.
Tired of Takeout? 🥡
Get 10 meals you can make faster than delivery arrives. Seriously.
One email. No spam. Unsubscribe anytime.
Instructions
- Heat your oil to exactly 350°F:
- Use a thermometer—this is the one moment where guessing will cost you either raw centers or burnt exteriors. Let the oil come up to temperature slowly so it stays stable.
- Set up your breading station like an assembly line:
- Flour in one bowl, egg mixture in the second, seasoned breadcrumbs in the third, with paper towels ready at the end. This rhythm makes the whole process smooth and keeps your hands from getting too sticky.
- Coat each pickle with intention:
- Flour first, then egg, then breadcrumbs—and press gently with your fingertips as you coat so the breadcrumbs actually stick instead of falling off in the oil. The thicker your coating, the crunchier your result.
- Lower pickles into the oil carefully:
- Use a slotted spoon or spider and work in batches so you don't crowd the pot and drop the oil temperature. You'll see them bob and sizzle—that's the sound of them getting golden.
- Fry until they're a deep golden brown:
- This takes 2 to 3 minutes, and you might need to turn them once so both sides crisp evenly. Trust your eyes more than the clock since oil temperature varies.
- Drain on paper towels immediately:
- This stops the cooking and absorbs excess oil so they stay crispy instead of getting soggy. Serve them the moment they're cool enough to eat.
 Pin it
 There was a dinner where a guest who usually turned down appetizers because they were "too heavy" ate almost half the plate and then asked for the recipe with real urgency. That moment of watching someone's face light up over something you made hits different than any compliment, and it's why I keep making these even when I'm only cooking for myself.
The Breading Technique That Changes Everything
The difference between soggy and shatteringly crisp comes down to how much you commit to the breading station and how you handle each step. I learned this the hard way after my first batch came out underwhelming, and now I treat it like a ritual—each pickle gets individual attention as it moves through flour, egg, then breadcrumbs. The pressing motion when you coat with breadcrumbs is key because you're creating little anchors that stay attached instead of drifting away in the oil. Once you nail this, you'll be shocked at how consistently good your pickles turn out.
Oil Temperature Is Non-Negotiable
Exactly 350°F is where the magic happens, and every degree matters more than you'd expect. Too cool and your pickles absorb oil like a sponge, turning heavy and disappointing—too hot and the outside burns before the pickle inside even gets warm. A simple instant-read thermometer costs almost nothing and becomes your secret weapon, taking the guesswork out of an otherwise easy recipe. I've seen people make restaurant-quality fried pickles and mediocre ones, and the only difference was usually temperature control.
Make Them Your Own
Once you understand the technique, the seasoning becomes your playground. I've added Old Bay for a coastal vibe, smoked paprika for depth, and even a tiny bit of dill to the breadcrumb mix when I'm feeling playful. The ranch dip can shift too—spicy ranch keeps people coming back, blue cheese dressing feels fancy, or even a simple lemon aioli if you want to get creative. These aren't complicated moves, but they're the moments where your version becomes different from anyone else's.
- Try mixing a teaspoon of everything bagel seasoning into your breadcrumbs for a totally different personality.
- Make a spicy honey drizzle by warming honey with cayenne and a splash of hot sauce to serve alongside the ranch.
- Use dill pickle chips instead of spears for smaller bites that cook even faster and disappear even quicker.
 Pin it
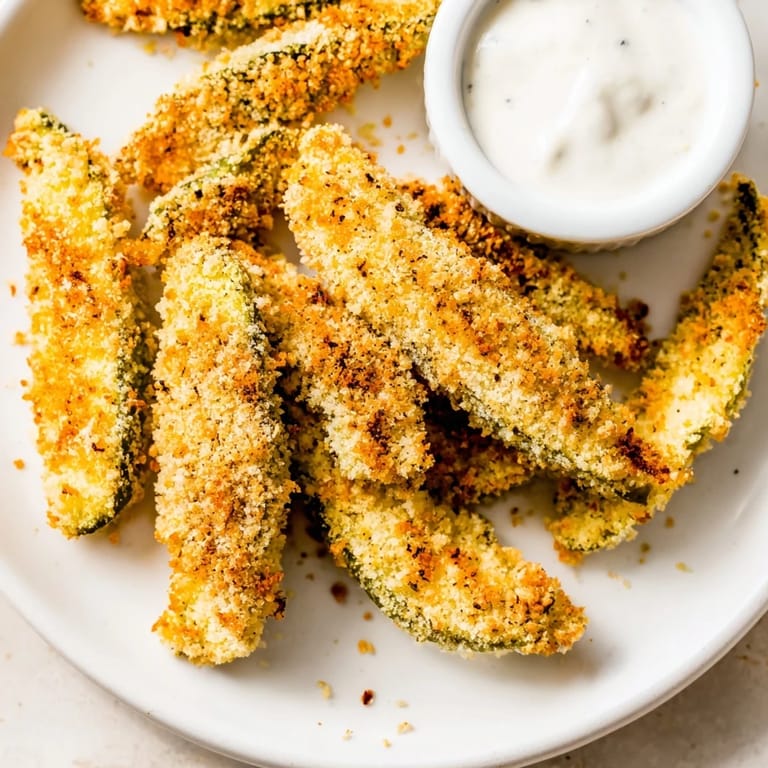
 There's a quiet satisfaction in making something that seems fancy but is actually foolproof once you understand the steps, and fried pickles hit that sweet spot perfectly. Serve them warm, watch them disappear, and accept the compliments knowing you've just created an instant crowd favorite.
Recipe Questions & Answers
- → What type of pickles work best for this dish?
Large dill pickle spears that are well-drained and patted dry hold up best to frying while maintaining a tangy flavor.
- → Can I use panko breadcrumbs instead of regular ones?
Yes, using panko breadcrumbs will add extra crunch and a lighter texture to the coating.
- → What oil is recommended for frying?
Vegetable oil with a high smoke point is preferred for deep frying to ensure crispy results without burning.
- → How do I keep the coating from falling off during frying?
Proper dredging using flour, egg wash, and tightly pressing the breadcrumb mixture helps the coating adhere firmly to the pickles.
- → Are there alternative dipping options besides ranch?
Spicy ranch, blue cheese dressing, or even a tangy mustard dip complement the crispy pickle spears well.
- → Can this be adapted for a gluten-free diet?
Substitute gluten-free flour and gluten-free breadcrumbs in the breading process for a gluten-free version.