 Pin it
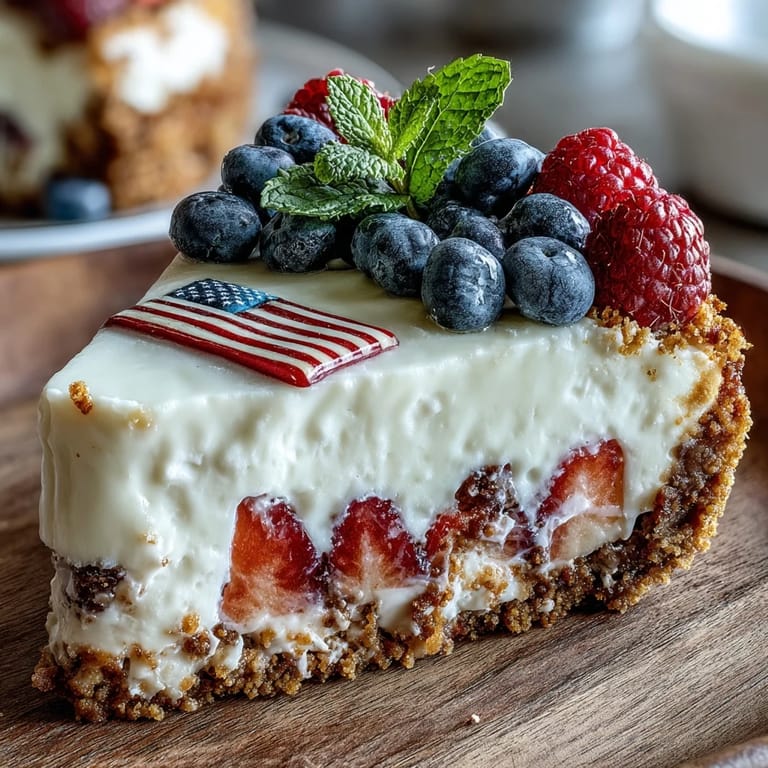
 Every Fourth of July, my kitchen transforms into a patriotic command center, and somehow this no-bake cheesecake flag always steals the show. I stumbled onto this recipe years ago while frantically searching for something that wouldn't heat up my kitchen on a sweltering summer day, and it's been my secret weapon ever since. The beauty of it is that you don't need to stress over an oven or precise baking temperatures—just a few bowls, some gentle folding, and fresh berries arranged like you're painting a dessert masterpiece. There's something magical about watching guests' faces light up when they realize the flag is completely edible, creamy, and absolutely delicious.
I'll never forget the year my neighbor brought her eight-year-old daughter over for dessert, and the kid's jaw literally dropped when she saw the flag cake sitting on our picnic table. She wanted to eat it so carefully that she wouldn't damage the flag, which meant she took the smallest, most delicate bites I've ever witnessed. That moment taught me that food isn't just about taste—sometimes it's about creating memories that make people feel special and celebrated.
Ingredients
- Graham cracker crumbs (2 cups): The foundation of everything, and you'll want them finely ground so they pack down into a sturdy, crumbly crust that holds up when you layer the creamy filling on top.
- Unsalted butter, melted (1/2 cup): This binds the crumbs together and adds that buttery richness that makes people close their eyes in appreciation.
- Granulated sugar (2 tablespoons): Just enough sweetness to balance the buttery crust without overshadowing the creamy filling.
- Salt (pinch): A tiny bit amplifies all the flavors and prevents the crust from tasting flat.
- Cream cheese, softened (16 oz): This must be truly softened—not cold—or you'll end up with lumps that refuse to blend smoothly.
- Heavy whipping cream, cold (1 cup): Keep this in the fridge until the last moment; cold cream whips faster and holds those stiff peaks much better.
- Powdered sugar (1 cup): It dissolves faster than granulated sugar and keeps the texture silky smooth.
- Vanilla extract (1 teaspoon): A small amount that whispers in the background rather than shouts, letting the cream cheese shine.
- Lemon zest (1): Optional, but it adds a subtle brightness that makes everything taste fresher and more summery.
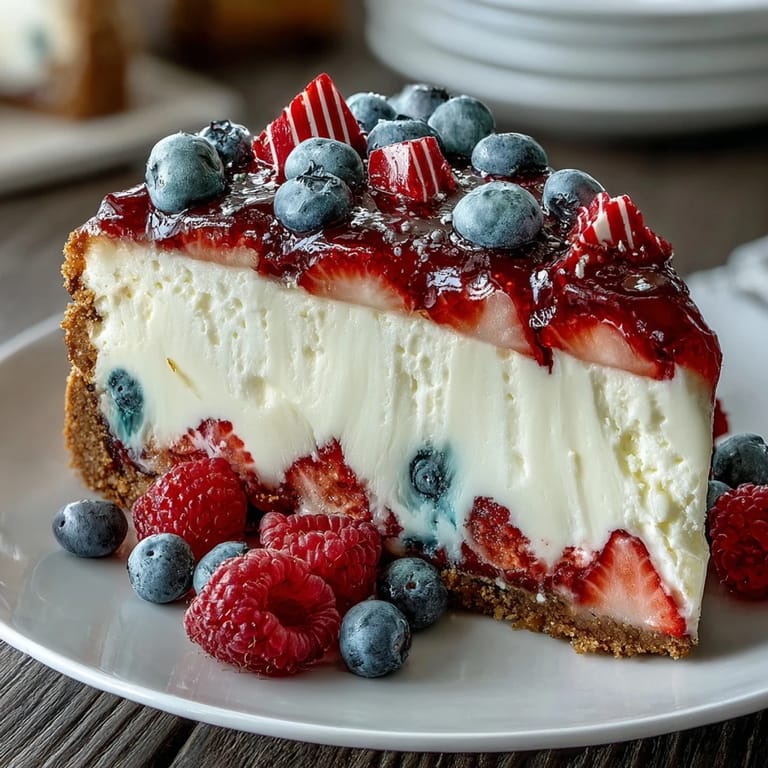
- Fresh blueberries (1 cup): These create the star field in the upper left corner and should be plump and dry to the touch.
- Fresh strawberries, hulled and sliced (1 1/2 cups): The iconic red stripes that everyone recognizes; slice them just before assembling so they stay juicy and bright.
- Fresh raspberries (1/2 cup, optional): Use these if you want extra depth of color in your stripes or prefer their tartness.
- Whipped cream for piping (1/2 cup, optional): Purely decorative, but it adds delicate definition between the berry rows if you're feeling fancy.
Tired of Takeout? 🥡
Get 10 meals you can make faster than delivery arrives. Seriously.
One email. No spam. Unsubscribe anytime.
Instructions
- Build your crust foundation:
- Combine the graham cracker crumbs, melted butter, sugar, and salt in a bowl and stir until every crumb glistens and holds together when squeezed. Press this mixture firmly and evenly into the bottom of your 9x13-inch baking dish, using the bottom of a measuring cup to create an even layer that extends all the way to the edges.
- Chill while you work:
- Pop the dish into the refrigerator so the crust firms up and stays intact when you layer the filling on top. This quick chill prevents crumbs from mixing into your cheesecake.
- Cream the cheese until silky:
- Beat the softened cream cheese in a large bowl for about a minute until it's completely smooth with no lumps hiding anywhere. Add the powdered sugar, vanilla, and lemon zest if using, then beat again until everything is light and fluffy.
- Whip your cream to clouds:
- In a separate cold bowl, whip the heavy cream with an electric mixer until it forms stiff peaks that stand tall when you lift the beaters. This is the magic ingredient that makes the filling pillowy and light rather than dense.
- Fold gently and lovingly:
- Add the whipped cream to the cream cheese mixture in two additions, folding gently with a spatula each time so you keep all those air bubbles intact. The motion is slow and deliberate—think folding rather than stirring.
- Spread and smooth:
- Pour the filling over your chilled crust and use a spatula to spread it in an even layer, smooth as glass. Take your time here because this is your canvas.
- Arrange your flag design:
- Place the blueberries in the upper left corner section to create the star field, then arrange alternating rows of strawberry slices across the remaining space, leaving strips of white filling visible between them. If you're using raspberries for extra color, intersperse them with the strawberries for richer red stripes.
- Optional piping for elegance:
- If you want extra visual definition, pipe thin lines of whipped cream between the berry rows using a pastry bag or squeeze bottle. This step is purely for looks but makes it feel extra special.
- Chill until set:
- Cover the dish loosely and refrigerate for at least 4 hours, though overnight is even better, allowing the flavors to meld and the filling to firm up to perfect slicing consistency. The longer chill also means the berries stay fresher and brighter.
- Slice and serve:
- Cut into squares and serve directly from the dish or transfer slices to plates with a large offset spatula, keeping everything chilled until it reaches the table. Each slice should have that beautiful flag pattern intact.
 Pin it
 There was one memorable Fourth when my teenage nephew actually put down his phone halfway through dessert to compliment the cake, which in his world is basically the highest honor possible. His surprise at discovering that the decorative flag was entirely made of fresh fruit and creamy filling somehow made that entire celebration feel a little more special and intentional.
Why This Works as Party Dessert
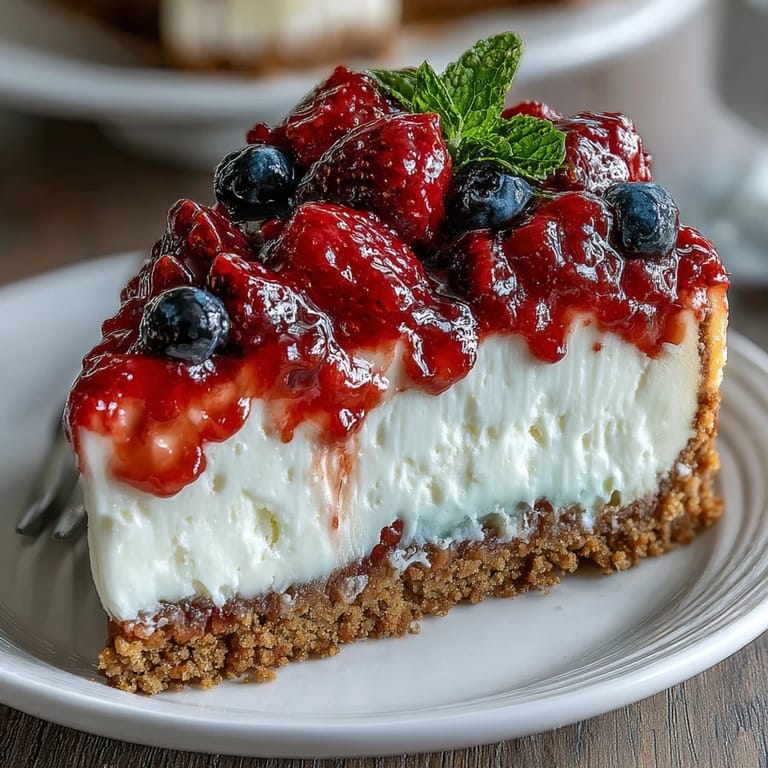
No-bake desserts are the unsung heroes of summer entertaining because they don't compete with appetizers or main courses for oven space or your attention. This cheesecake sits in your refrigerator quietly doing its thing, getting better as it chills, while you can focus on grilling, setting up games, or actually enjoying time with your guests instead of stressing in the kitchen. The best part is watching people's faces when they realize it's not just beautiful but genuinely delicious and refreshingly light—not heavy or cloying like heavier desserts can be in the heat.
Customizing Your Flag
The beauty of this dessert is that it adapts to whatever berries look best at your farmers market or grocery store on any given day. Some years I've used blackberries instead of raspberries for dramatic deep-red stripes, and once I even used cherries when strawberries weren't at peak season. The white filling stays consistent and creamy, so you're really just playing with your fruit palette until you create something that feels right and reflects what's fresh and gorgeous during that moment in summer.
Timing and Make-Ahead Strategy
The most liberating part of this recipe is that the heavy lifting happens way before guests arrive, which means you can actually enjoy your party instead of stress-cooking in a hot kitchen. Prepare everything through the filling spread stage the night before, cover it loosely, and let it chill overnight—the flavors actually deepen and the texture becomes even more perfect. In the morning or just before guests arrive, arrange your berries in their patriotic pattern, and you're done—people will think you spent hours when you really just assembled something beautiful at the last minute.
- Prepare crust and filling up to 24 hours ahead for absolute stress-free entertaining.
- Add berries no more than 2 hours before serving to keep colors vibrant and filling pristine.
- Keep everything refrigerated until the moment you slice and serve for best texture and presentation.
 Pin it
 This dessert has become my shorthand for summer celebrations—it's the recipe I reach for when I want something that feels restaurant-worthy without the stress. Every time I make it, I'm reminded that sometimes the best things in life don't need complicated techniques or a hot kitchen, just good ingredients and the willingness to slow down and create something beautiful.
Recipe Questions & Answers
- → How do I ensure the crust stays firm?
Press the graham cracker mixture tightly into the pan and chill well before adding the filling to help it set firmly.
- → Can I use other fruits for topping?
Yes, substituting raspberries or blackberries can enhance color contrast and complement the flavors nicely.
- → What is the best way to whip the cream for filling?
Chill the bowl and beaters before whipping cream to stiff peaks for a light and stable filling texture.
- → How long should the cheesecake chill before serving?
Refrigerate for at least 4 hours to allow the filling to fully set and develop flavor.
- → Is it possible to prepare the cake in advance?
Yes, assemble up to 24 hours ahead and add fresh fruit just before serving for the best appearance.